Outreach activity – Extracting DNA from kiwi fruit
Posted by Katie Howe, on 20 December 2013
DNA extraction from fruit is an easy experiment that makes a great demonstration for kids’ science fairs. I ran a DNA extraction stall at Oxford’s Wow!How? family science fair a few years back. Unfortunately I didn’t take any photos at the time but I had a lot of fun this weekend recreating the experiment in my kitchen!
The experiment is hands on and messy, which kids tend to love, and there’s plenty of opportunity to explain why DNA is important in telling the cells in our body what to do. You could even go into more detail and explain some of the concepts of genetics to older children.
During a busy science fair there might not be time to wait 20 minutes for the extraction solution to work. To avoid having to wait you could set up stations for each of the steps below and every half an hour or so prepare a handful of fruit/extraction buffer solutions and also some alcohol/purified DNA mixtures.
Click here for a downloadable instruction sheet that can be printed off for children/parents to take home.
Here’s what to do:
1) Prepare your equipment
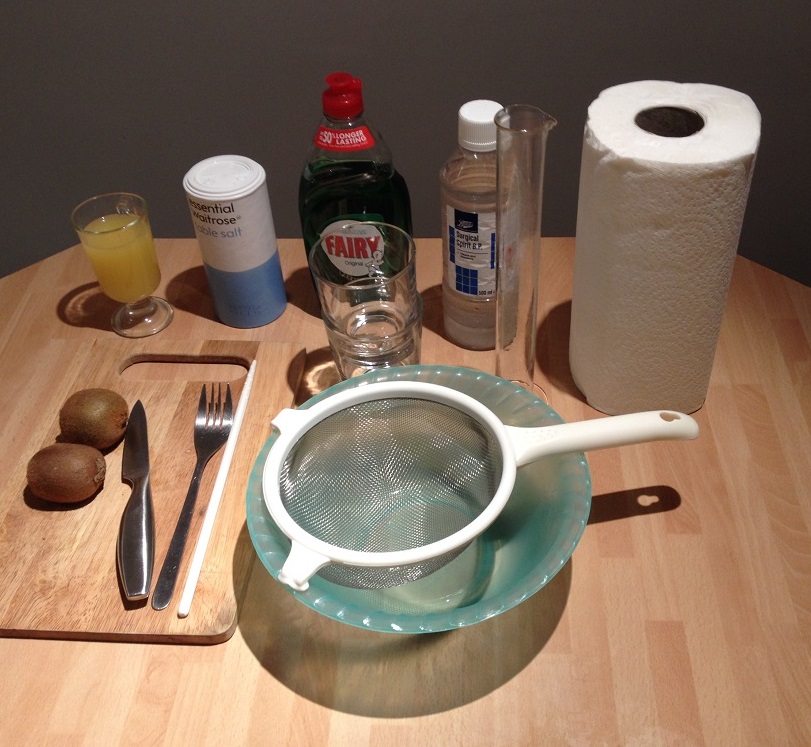
You will need:
– Two kiwis
– Pineapple juice
– Table salt
– Washing up liquid
– Cold alcohol – put in the freezer before you start the experiment (I used surgical spirit but strong rum also works well)
– Two small glass beakers (or plastic cups)
– Sieve
– Bowl
– Tall glass/measuring cylinder
– Kitchen Roll
– Stirring rod (or chopstick)
– Knife
– Fork
– Chopping board
2) Make the extraction solution
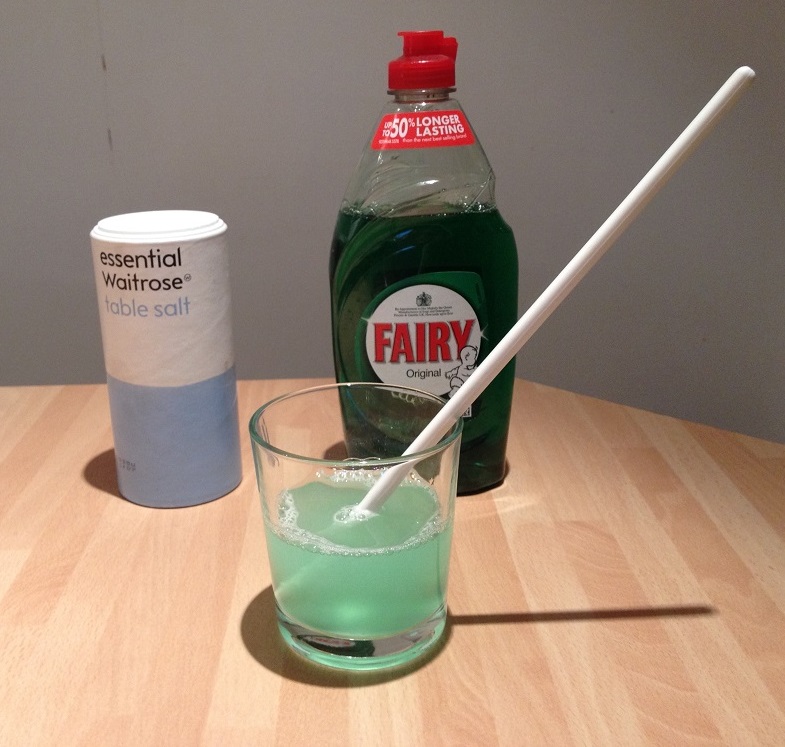
The DNA is tightly packaged inside the nucleus of cells. The membranes of the cell and of the nucleus are rich in fats so we can break them down using a detergent. The salt helps to get rid of the proteins that package the DNA tightly inside the nucleus.
– In one of your beakers measure out about 80mls water
– Add half a teaspoon of salt and stir until dissolved
– Add two teaspoons of washing up liquid and stir gently avoiding making too many bubbles
3) Prepare your fruit mush
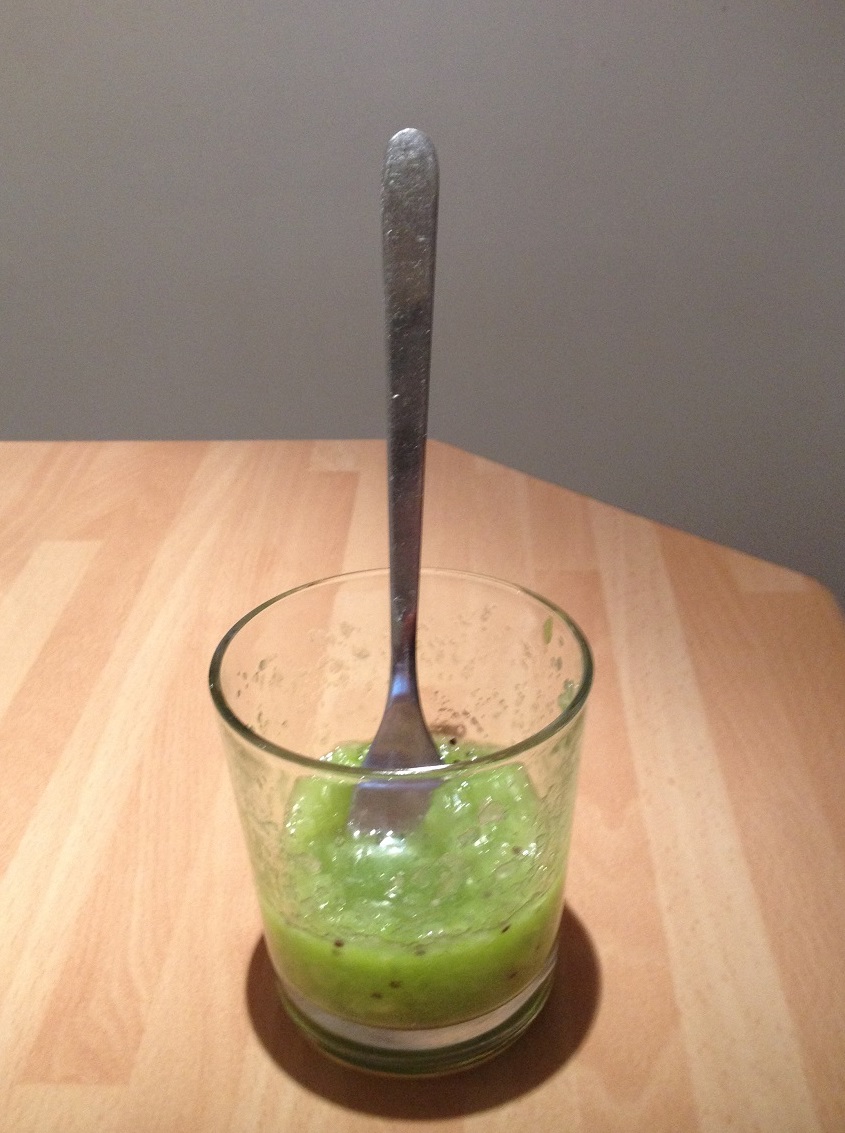
DNA can be extracted from anything living. You could also try this experiment with strawberries or bananas. Make sure you remove the fruit skins as they are mostly dead and don’t contain DNA. The kiwi needs to be broken up so the extraction solution can get to the cells.
– Peel your kiwis and chop into small pieces
– Add the chopped up kiwi to the second small beaker and use the fork to mush it up
4) Add the extraction solution to the fruit mush
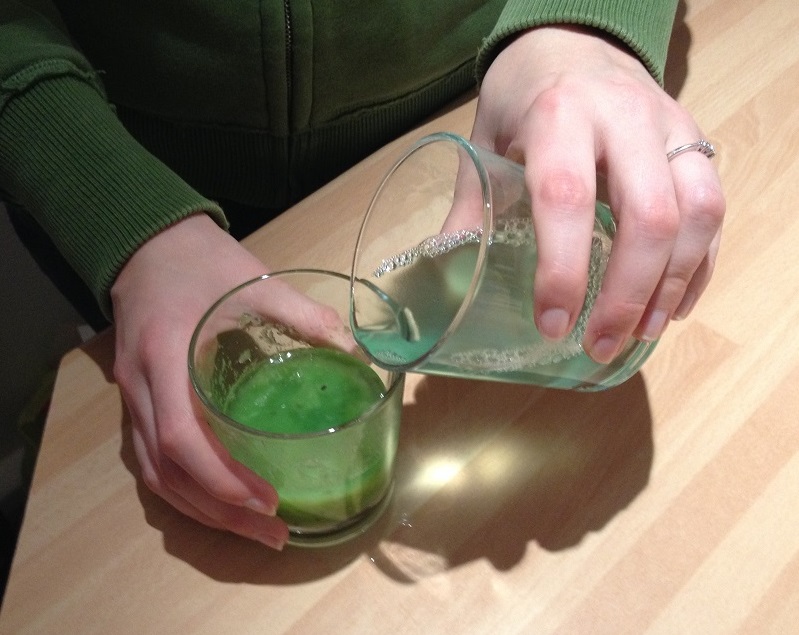
In this step the detergent breaks down the cell membranes so the DNA can be released. The salt removes proteins that are bound to the DNA.
– Add your extraction solution to the kiwi mush
– Leave at room temperature for about 20 minutes
5) Filter the solution
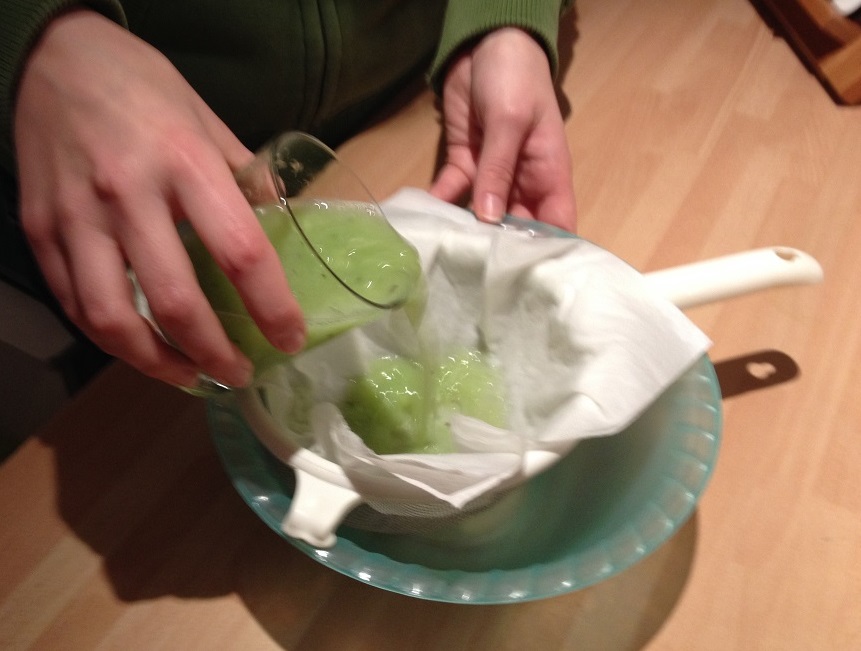
This gets rid of the fruit pulp and seeds and should leave a pure solution of DNA
– Put your sieve over a clean bowl and line the sieve with a few sheets of damp kitchen roll
– Pour your green mush into the sieve carefully, being careful not to break the kitchen roll
– Use a fork to gently push the mixture through the sieve.
– The pulp and seeds should be left in the sieve and there should be a greenish liquid in the bowl. Transfer this to a tall glass or measuring cylinder.
6) Purifying the DNA
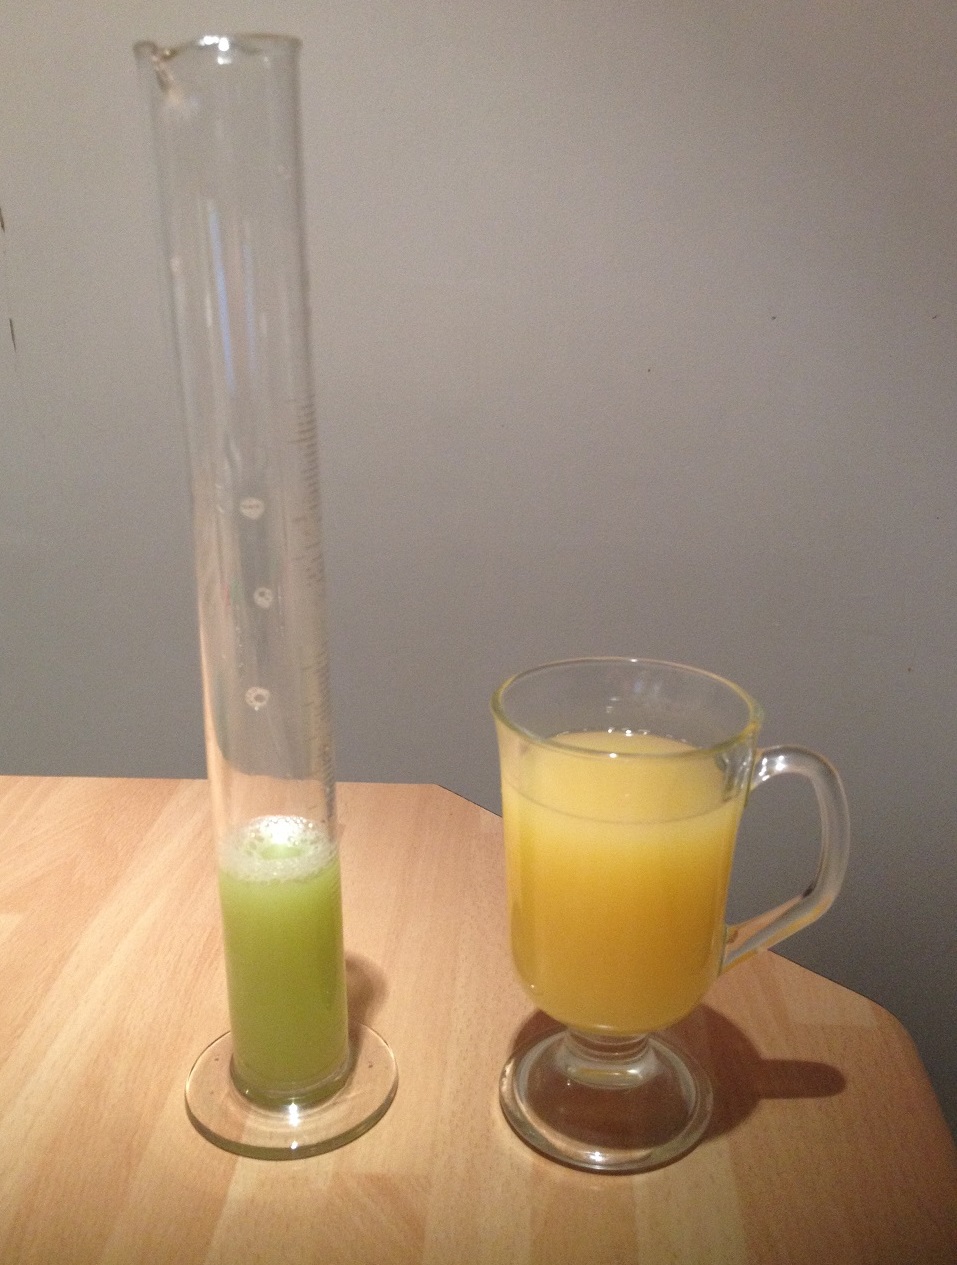
If you want an even purer solution of DNA then we need to remove proteins that are bound to the DNA. Pineapple juice contains an enzyme that breaks down proteins. If you haven’t got any pineapple juice then contact lens cleaning solution can also be used.
– Add pineapple juice to the green liquid. You will need about 1ml of pineapple juice to 5mls of the green DNA solution.
– Leave at room temperature for about 5 minutes
7) Precipitating the DNA
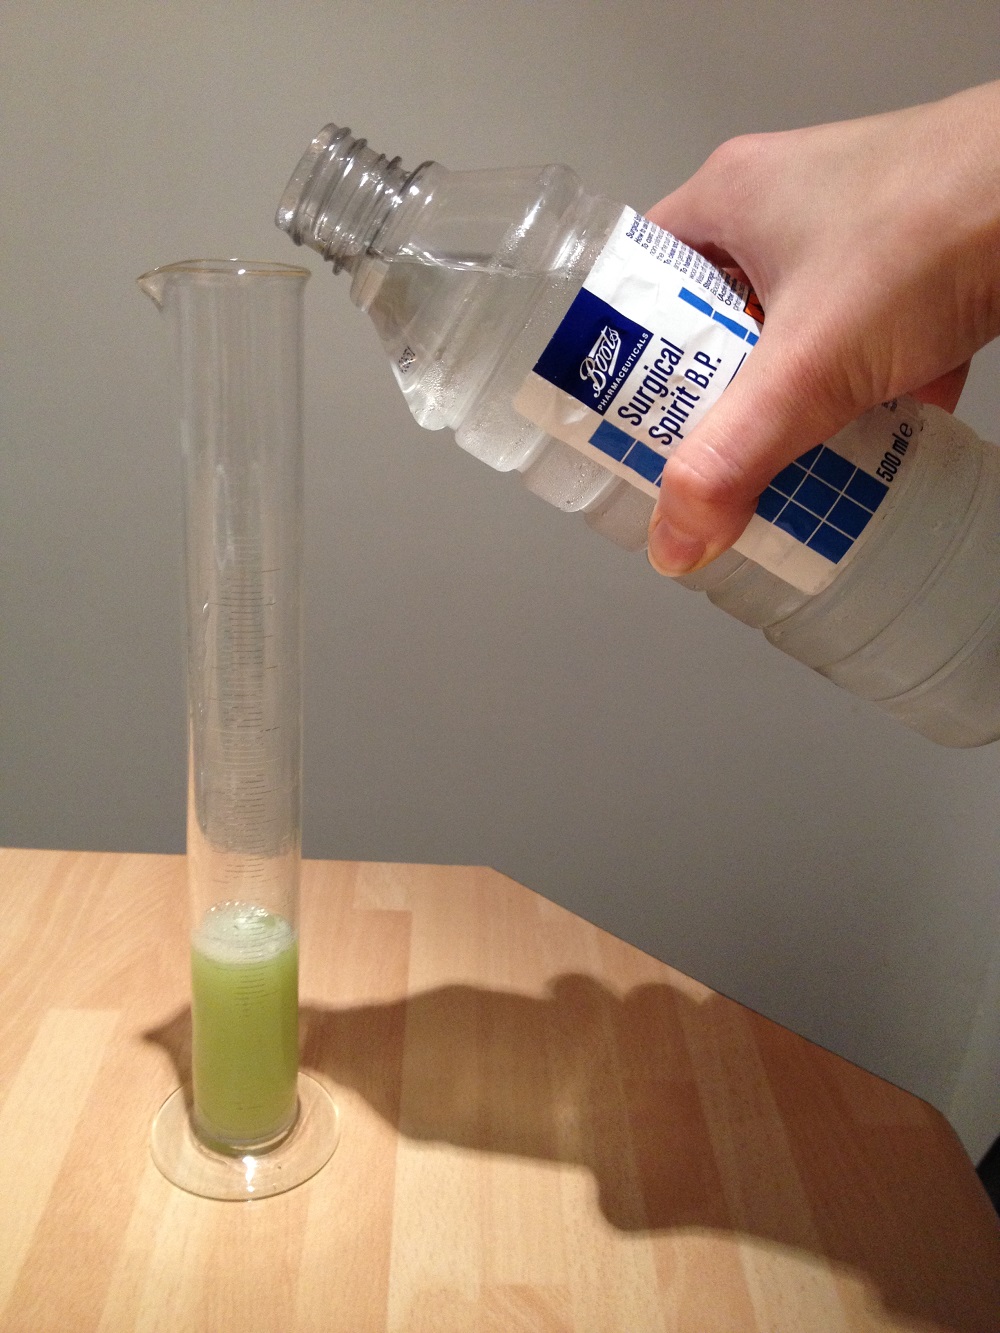
DNA dissolves in water so will not be visible. However, it does not dissolve in alcohol so if we add surgical spirit then the DNA will collect as a white mass at the top of the tube.
– Remove the alcohol from the freezer
– Carefully pour the alcohol down the side of the glass
– You need about equal volumes of DNA solution to alcohol
8) Visualise the DNA sample
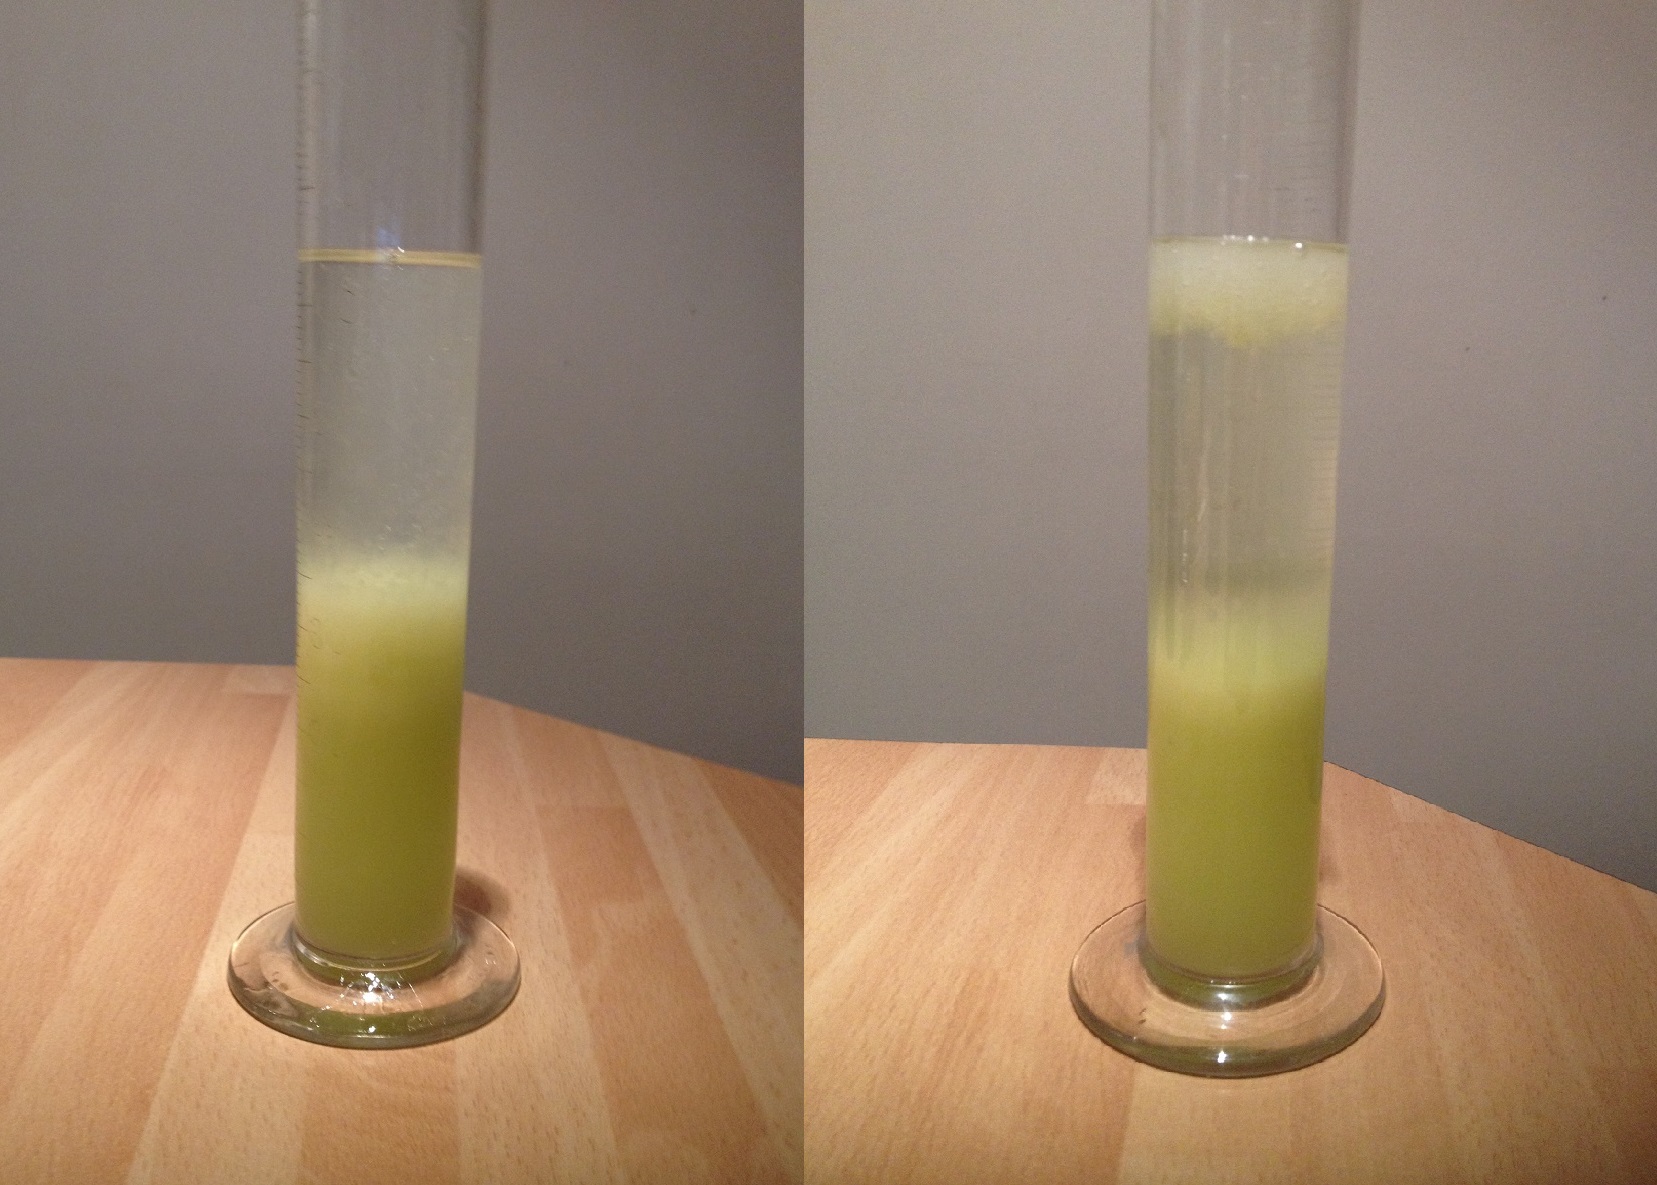
After about 10 minutes you should be able to see a mass of white stringy stuff at the top of the tube (see right hand photo). This is the kiwi DNA! You can fish this out using the chopstick and place it onto a piece of card to take home.
Sources
This protocol is adapted from the following sources:
http://www.funsci.com/fun3_en/dna/dnaen.htm
http://www.nuffieldfoundation.org/practical-biology/extracting-dna-living-things
 This post is part of a series on science outreach. You can read the introduction to the series here and read other posts in this series here.


 (21 votes)
Hey, thank you for posting this. It helped me a lot with my science homework and if I get a chance I will be sure to do this amazing practical at home. Have a nice day. :)
We would love to use this in our school careers projects to get our children to consider genetic engineering as a future career.